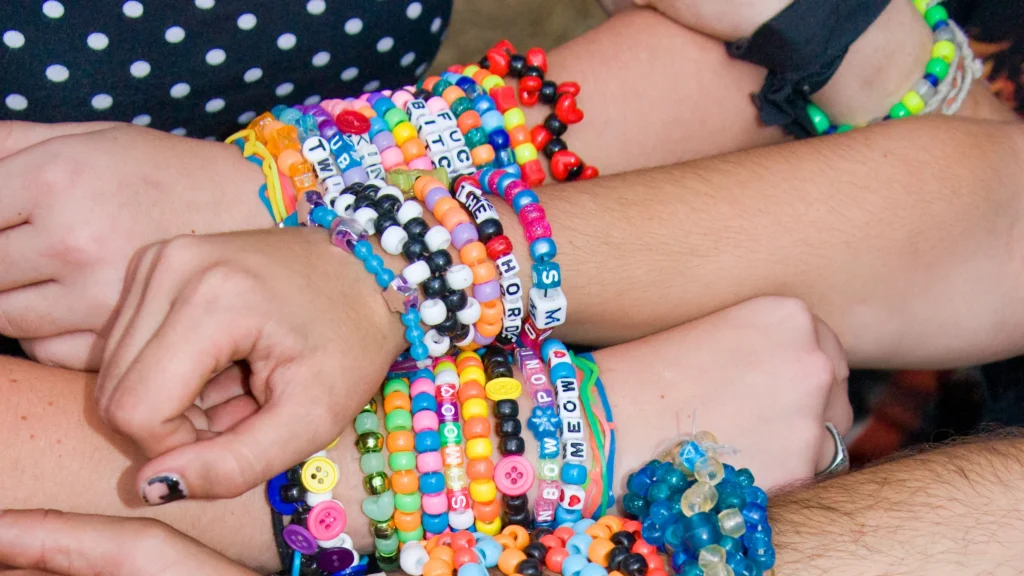
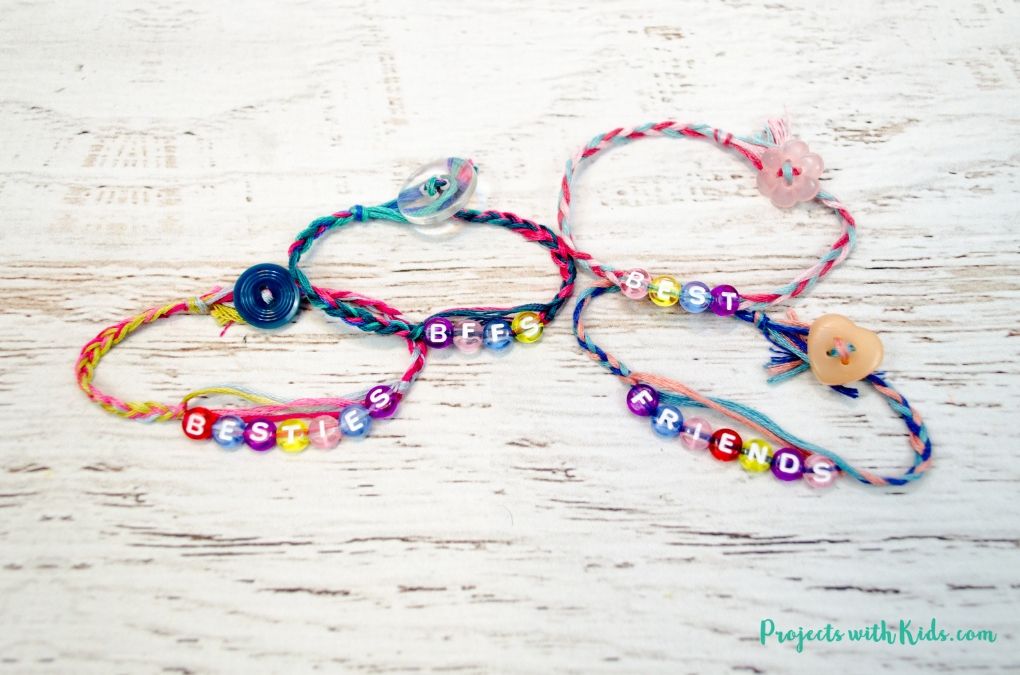
Friendship bracelets with beads and string are a popular accessory that symbolize the bond between friends. These bracelets are typically handmade and are often exchanged as a token of friendship. The intricate designs and patterns make them unique and personal.
What are Friendship Bracelets with Beads and String?
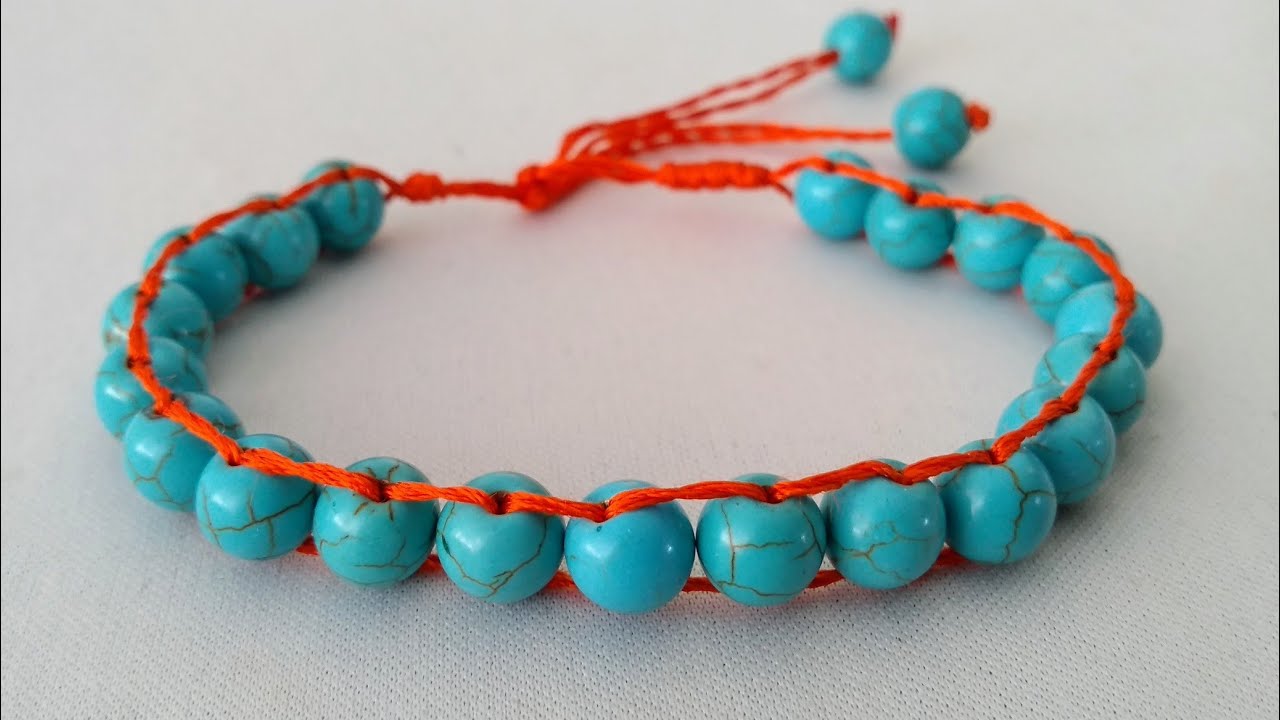
Friendship bracelets with beads and string are crafted using different colored threads and beads to create decorative patterns. The threads are twisted, knotted, woven, or braided together to form the base of the bracelet. Beads are then added to the threads, enhancing the overall design and adding variety to the bracelet. The beads can be made of various materials like glass, plastic, metal, or gemstones, allowing for a wide range of customization options.
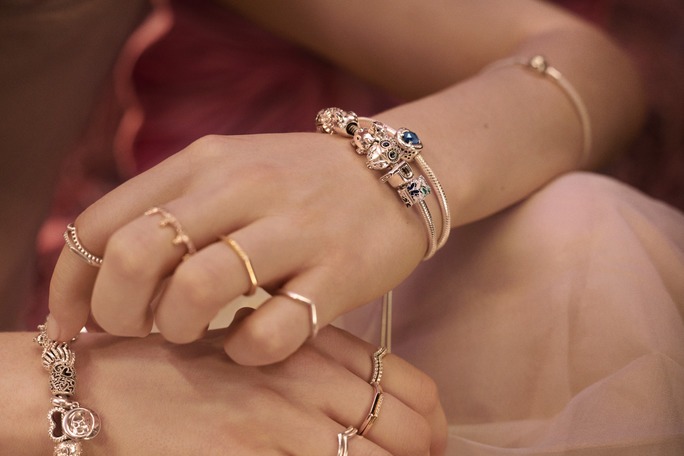
These bracelets can be simple or complex, depending on the design and the skill level of the creator. They can be worn individually or stacked for a layered look. Friendship bracelets with beads and string can also be customized with initials, names, or symbols to make them even more unique and personal.
History and Significance of Friendship Bracelets
The tradition of making friendship bracelets can be traced back to ancient civilizations. It is believed that these bracelets were first made by Native Americans, who created them using natural materials such as plant fibers, shells, and feathers. These bracelets were worn as a symbol of protection and friendship.
In the 1970s, friendship bracelets gained popularity as a fashion trend, particularly amongst teenagers. They became a symbol of unity and friendship among peers. Today, these bracelets continue to hold significance as a symbol of friendship and love.
The act of exchanging friendship bracelets is a gesture of trust, loyalty, and affection. It represents the bond between friends and serves as a reminder of the special connection they share. Friendship bracelets with beads and string are not only fashionable accessories but also meaningful tokens of friendship.

Materials Needed
Friendship bracelets with beads and string require specific materials and tools for their creation. Here is a list of the essential items needed:
Types of Beads and String for Friendship Bracelets
Different types of beads and string can be used to make friendship bracelets. Here are some popular choices:
- Thread: Nylon or cotton threads are commonly used for making friendship bracelets. They come in various colors and thicknesses, allowing for different levels of intricacy in the designs.
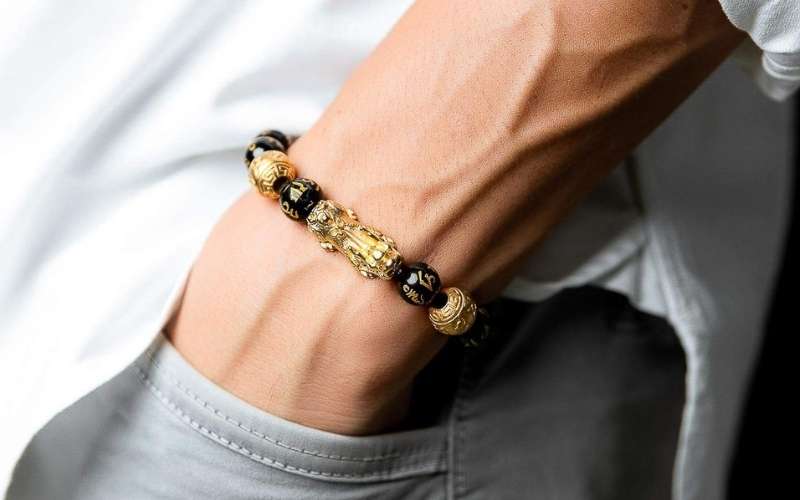
- Beads: Friendship bracelets can be adorned with a variety of beads. Glass and plastic beads are commonly used due to their affordability and availability in different shapes and sizes. Metal and gemstone beads add a touch of elegance and sophistication to the bracelets.
Tools and Accessories Required
To create friendship bracelets with beads and string, you will need the following tools and accessories:
- Scissors: A sharp pair of scissors is necessary for cutting the threads in the desired lengths.
- Tape or Clipboard: These can be used to secure the bracelet while working on it, keeping the threads taut and preventing them from tangling.
- Beading Needle: A beading needle is useful for threading small beads onto the string. It has a thin, flexible wire that makes it easy to pass through the bead holes.
- Closure: A closure is needed to secure the bracelet around the wrist. This can be a clasp, a button, or a knot.
With the right materials and tools, you can create beautiful friendship bracelets with beads and string. The possibilities are endless when it comes to designing and personalizing these accessories for yourself or your friends.
Choosing a Design
When it comes to making friendship bracelets with beads and string, there are various design options to choose from. Here are a few considerations when selecting a design:
Popular Friendship Bracelet Design Patterns
There are several popular friendship bracelet patterns that you can try. These patterns include:
Chevron: This pattern features a series of inverted "V" shapes, creating a zigzag effect.
Diamonds: The diamond pattern involves interweaving diagonal lines to form diamond shapes
Stripes: Striped patterns involve repeating blocks of different-colored threads, creating a striped effect.
These are just a few examples, and you can find countless other patterns online or in friendship bracelet pattern books.
Personalizing Your Friendship Bracelet Design
One of the best things about making friendship bracelets is the ability to personalize them. Here are some ways to add a personal touch to your bracelet design:
Letter Beads: Use letter beads to spell out initials, names, or meaningful words. Charms: Attach small charms to the bracelet to represent hobbies, interests, or shared memories.
Color Choices: Select colors that hold special significance to you or your friends.
By personalizing your friendship bracelet design, you can create a unique and meaningful accessory that holds sentimental value.
Getting Started
When it comes to making friendship bracelets with beads and string, there are various design options to choose from. Here are a few considerations when selecting a design:
Popular Friendship Bracelet Design Patterns
There are several popular friendship bracelet patterns that you can try. These patterns include:
- Chevron: This pattern features a series of inverted “V” shapes, creating a zigzag effect.
- Diamonds: The diamond pattern involves interweaving diagonal lines to form diamond shapes.
- Stripes: Striped patterns involve repeating blocks of different-colored threads, creating a striped effect.
These are just a few examples, and you can find countless other patterns online or in friendship bracelet pattern books.
Personalizing Your Friendship Bracelet Design
One of the best things about making friendship bracelets is the ability to personalize them. Here are some ways to add a personal touch to your bracelet design:
- Letter Beads: Use letter beads to spell out initials, names, or meaningful words.
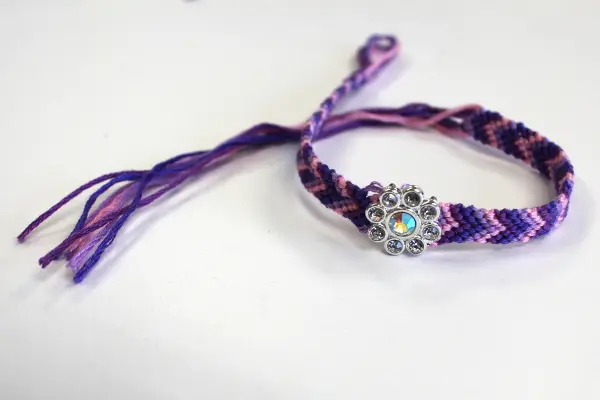
- Charms: Attach small charms to the bracelet to represent hobbies, interests, or shared memories.
- Color Choices: Select colors that hold special significance to you or your friends.
By personalizing your friendship bracelet design, you can create a unique and meaningful accessory that holds sentimental value.
Preparing the Beads and String
Before you start making your friendship bracelet, you’ll need to gather the necessary materials and prepare them:
- Beads: Choose beads in your desired colors and styles. You can use plastic, glass, or wooden beads, depending on your preference.
- String: Select a sturdy string that won’t easily break or fray. Embroidery floss or nylon thread are popular choices.
- Measurements: Determine the length of your bracelet by measuring your wrist and adding a few inches for tying knots. Cut the string to this length.
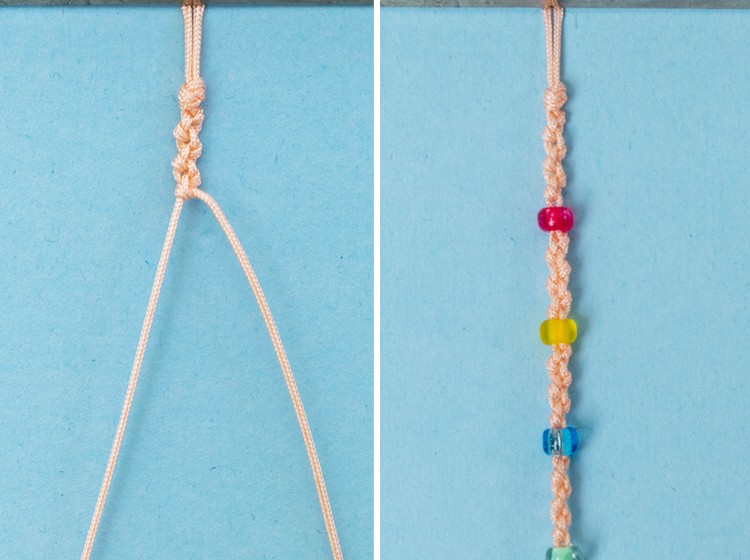
- Knotting: Tie a loop at one end of the string to serve as a fastening point for your bracelet.
Once you have gathered and prepared your materials, you’re ready to start making your friendship bracelet.
Starting the Friendship Bracelet
Now that you have your beads and string ready, it’s time to begin creating your friendship bracelet:
- Choose your pattern: Select the design pattern you want to use for your bracelet. You can follow a specific pattern or create your own.
- Thread the beads: Start threading the beads onto the string in the desired order according to your pattern. You can use a needle if needed.
- Knot the thread: After adding each bead, tie a knot to secure it in place. This will prevent the beads from sliding around.
- Continue the pattern: Repeat the process of threading beads and knotting until you reach the desired length for your bracelet.
- Finish the bracelet: Once you have reached the desired length, tie a loop at the other end of the string to complete the bracelet.
Now your friendship bracelet is ready to be worn or given as a gift to a special friend!
Adding Beads
Techniques for Adding Beads to Friendship Bracelets
When it comes to making friendship bracelets with beads and string, adding beads can add an extra touch of style and creativity. Here are a few techniques for adding beads to your bracelet:
- Threaded beads: To create a threaded bead design, simply thread the beads onto the string along with the rest of the bracelet pattern. Make sure to secure each bead with a knot to keep them in place.
- Charms: If you prefer larger beads or charms, you can attach them directly onto the bracelet using jump rings. This will add dimension and a personalized touch to the design.
- Interspersed beads: For a more subtle look, you can intersperse beads throughout the bracelet pattern. This can be done by adding a bead between every few knots or using beads as accents in specific areas of the design.
Creating Patterns with Beads
Adding beads to your friendship bracelet can open up a whole new world of design possibilities. Here are some ideas for creating patterns with beads:
- Alternate colors: Use beads of different colors to create a striped or alternating pattern. This can add visual interest and make your design stand out.
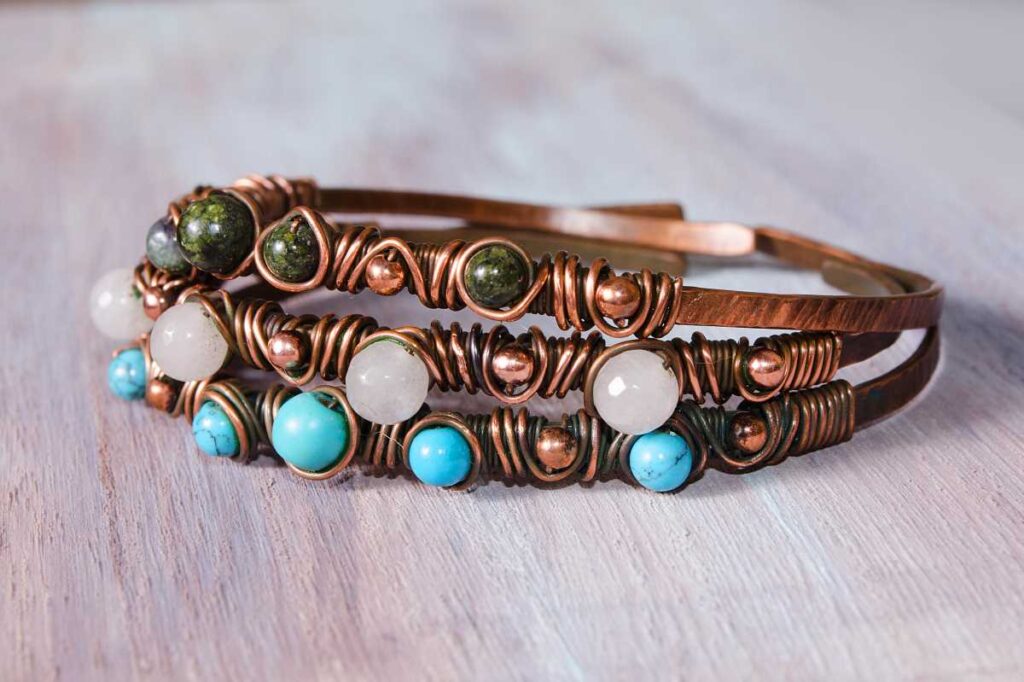
- Symbolic beads: Select beads that represent something meaningful to you or your friend. For example, you can use birthstone beads or beads with special symbols.
- Gradient effect: Create a gradient effect by using beads in a range of shades from light to dark. This can add depth and dimension to your bracelet.
Experiment with different bead placement and patterns to create a unique and personalized friendship bracelet that reflects your style and friendship.
Knotting Techniques
Basic Knotting Techniques for Friendship Bracelets
When it comes to making friendship bracelets, mastering the basic knotting techniques is essential. Here are some commonly used knotting techniques:
- The Forward Knot: This is the most basic knot used in friendship bracelet making. To create a forward knot, place one string over the other and pull the end through the loop created. Repeat this process with the same string until you reach the desired length.
- The Backward Knot: The backward knot is similar to the forward knot, but the starting position is reversed. Instead of placing one string over the other, you place it under and pull the end through the loop. Repeat with the same string until you reach the desired length.
- The Double Knot: This knot is created by repeating the forward knot twice or the backward knot twice, depending on the design you want to achieve. It adds extra security and stability to your bracelet.
- The Chevron Knot: The chevron knot is used to create diagonal patterns in your friendship bracelet. It involves alternating forward and backward knots in a specific pattern to achieve the desired design.
Adding Variations and Embellishments
Once you have mastered the basic knotting techniques, you can add variations and embellishments to your friendship bracelets to make them unique. Here are some ideas:
- Adding in different colors: Experiment with using multiple colors of string to create interesting patterns and designs.
- Using different knotting styles: Explore different knotting styles such as the square knot, the twist knot, or the diamond knot to add texture and dimension to your bracelet.
- Incorporating beads: As mentioned earlier, adding beads to your friendship bracelet can take it to the next level. Try incorporating beads along with your knotting techniques to create eye-catching designs.
- Playing with different lengths: Instead of making a traditional bracelet length, you can create anklets, chokers, or even keychain accessories using the same knotting techniques.
Remember, the key to creating beautiful friendship bracelets lies in practice and experimentation. So grab your strings, master those knotting techniques, and let your creativity shine!
Finishing and Securing the Bracelet
Ending the Friendship Bracelet
Once you’ve completed the desired length of your friendship bracelet, it’s time to finish it off. Here are a few ways to end your bracelet:
- The Overhand Knot: To end your bracelet, simply tie an overhand knot at the end of the threads. Make sure to leave a small loop so you can easily attach the closure.
- The Button Closure: Another option is to sew a button onto one end of the bracelet and create a loop on the other end to secure it in place. This provides a stylish and adjustable closure.
- The Adjustable Closure: For a more versatile closure, you can use adjustable sliding knots. This allows the wearer to easily adjust the length of the bracelet to fit their wrist comfortably.
Securing and Adjusting the Bracelet
To secure and adjust your friendship bracelet, follow these steps:
- Trimming the Excess: After securing the bracelet with your chosen closure, trim any excess thread, leaving a small tail.
- Burning the Ends: To prevent fraying, carefully use a lighter or a flame to melt the ends of the thread. Be cautious and avoid direct contact with the flame.
- Adjusting the Length: If you used a button or an adjustable closure, you can easily slide the bracelet to a comfortable length for your wrist. Pinch the knots or adjust the closure as needed.
Remember, practice makes perfect when it comes to knotting techniques and finishing friendship bracelets. Have fun experimenting with different colors, patterns, and closures to create personalized bracelets for your friends or yourself.
Tips and Troubleshooting
Helpful Tips for Creating Friendship Bracelets with Beads
When creating friendship bracelets with beads, consider the following tips:
- Choose the Right Beads: Select beads that are lightweight and have a large enough hole to easily thread the embroidery floss through.
- Thread the Beads First: Before starting the bracelet, thread all the beads onto your embroidery floss. This will make the beading process smoother.
- Use a Tapestry Needle: To make threading the beads easier, use a tapestry needle with a large eye. This will prevent frustration and save time.
- Consider Bead Placement: Experiment with different bead placements to create unique patterns and designs on your bracelet.
- Secure Beads with Knots: After each bead, tie a simple knot to secure it in place. This will prevent the beads from sliding around and keep your pattern intact.
Common Issues and How to Fix Them
Here are solutions to common issues you may encounter when making friendship bracelets:
Here are solutions to common issues you may encounter when making friendship bracelets:
| Issue | Solution |
|---|---|
| Frayed Ends | Use a lighter or a flame to carefully melt the ends of the thread, preventing fraying. Be cautious and avoid direct contact with the flame. |
| Uneven Bracelet Length | Measure the thread lengths before starting your bracelet to ensure they are consistent. If the bracelet becomes uneven, adjust the knots or closure accordingly. |
| Thread Tangles | Occasionally, the threads may become tangled. Take your time to unravel the tangles and continue with the bracelet. Using a comb or a needle can help with untangling. |
| Incorrect Knots | If you make a mistake or use the wrong knot, carefully undo the incorrect knot and redo it correctly. Pay attention to the knotting technique to ensure a neat and secure bracelet. |
By following these helpful tips and troubleshooting common issues, you can create beautiful and personalized friendship bracelets with beads. Keep practicing and experimenting with different techniques to perfect your bracelet-making skills.
Tips and Troubleshooting
Helpful Tips for Creating Friendship Bracelets with Beads
When creating friendship bracelets with beads, it is important to keep the following tips in mind:
- Choose the Right Beads: Select lightweight beads with holes large enough to easily thread the embroidery floss through.
- Thread the Beads First: Before starting the bracelet, thread all the beads onto the embroidery floss to make the beading process smoother.
- Use a Tapestry Needle: To make threading the beads easier, use a tapestry needle with a large eye to prevent frustration and save time.
- Consider Bead Placement: Experiment with different bead placements to create unique patterns and designs on your bracelet.
- Secure Beads with Knots: After threading each bead, tie a simple knot to secure it in place. This will prevent the beads from sliding around and keep your pattern intact.
Common Issues and How to Fix Them
Here are solutions to common issues you may encounter when making friendship bracelets:
| Issue | Solution |
|---|---|
| Frayed Ends | Use a lighter or a flame to carefully melt the ends of the thread, preventing fraying. Be cautious and avoid direct contact with the flame. |
| Uneven Bracelet Length | Measure the thread lengths before starting your bracelet to ensure they are consistent. If the bracelet becomes uneven, adjust the knots or closure accordingly. |
| Thread Tangles | Occasionally, the threads may become tangled. Take your time to unravel the tangles and continue with the bracelet. Using a comb or a needle can help with untangling. |
| Incorrect Knots | If you make a mistake or use the wrong knot, carefully undo the incorrect knot and redo it correctly. Pay attention to the knotting technique to ensure a neat and secure bracelet. |
By following these helpful tips and troubleshooting common issues, one can create beautiful and personalized friendship bracelets with beads.