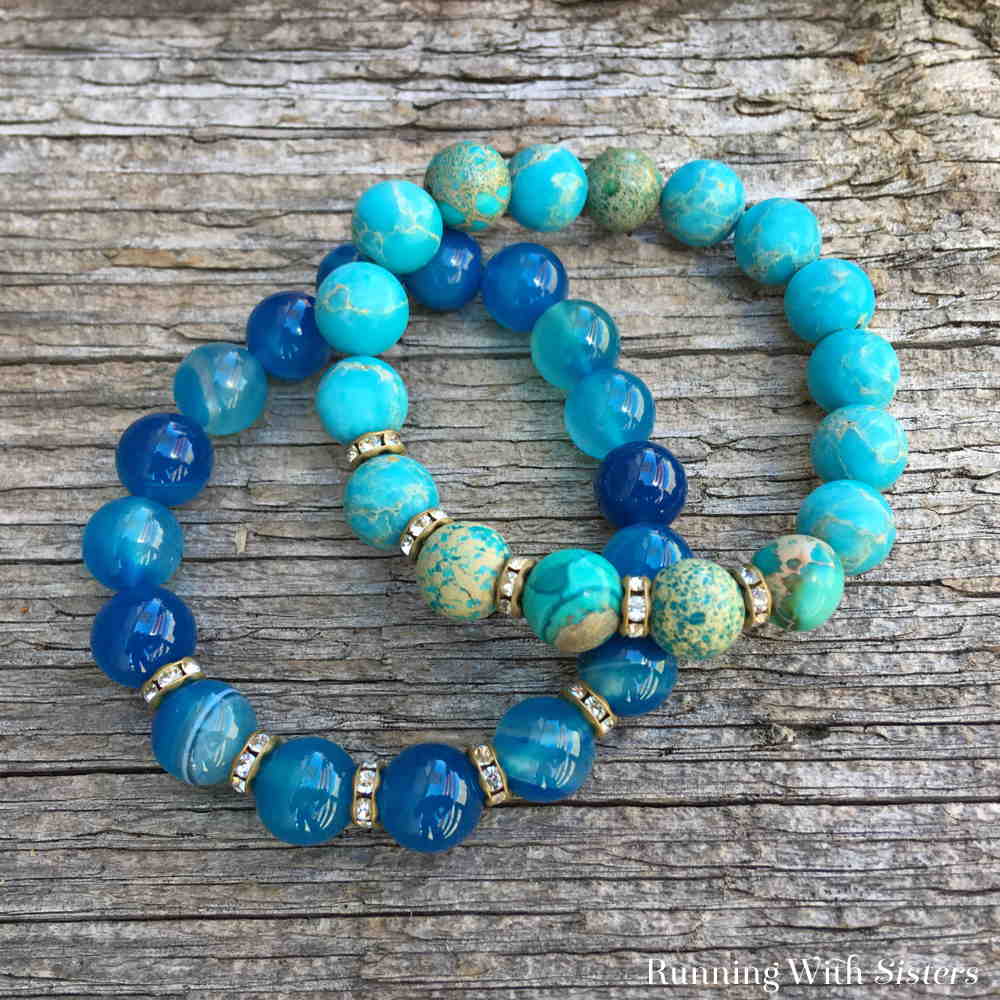
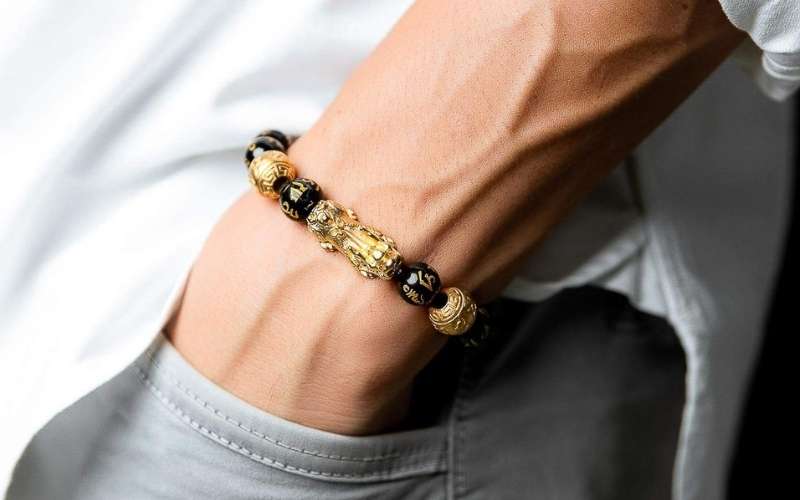
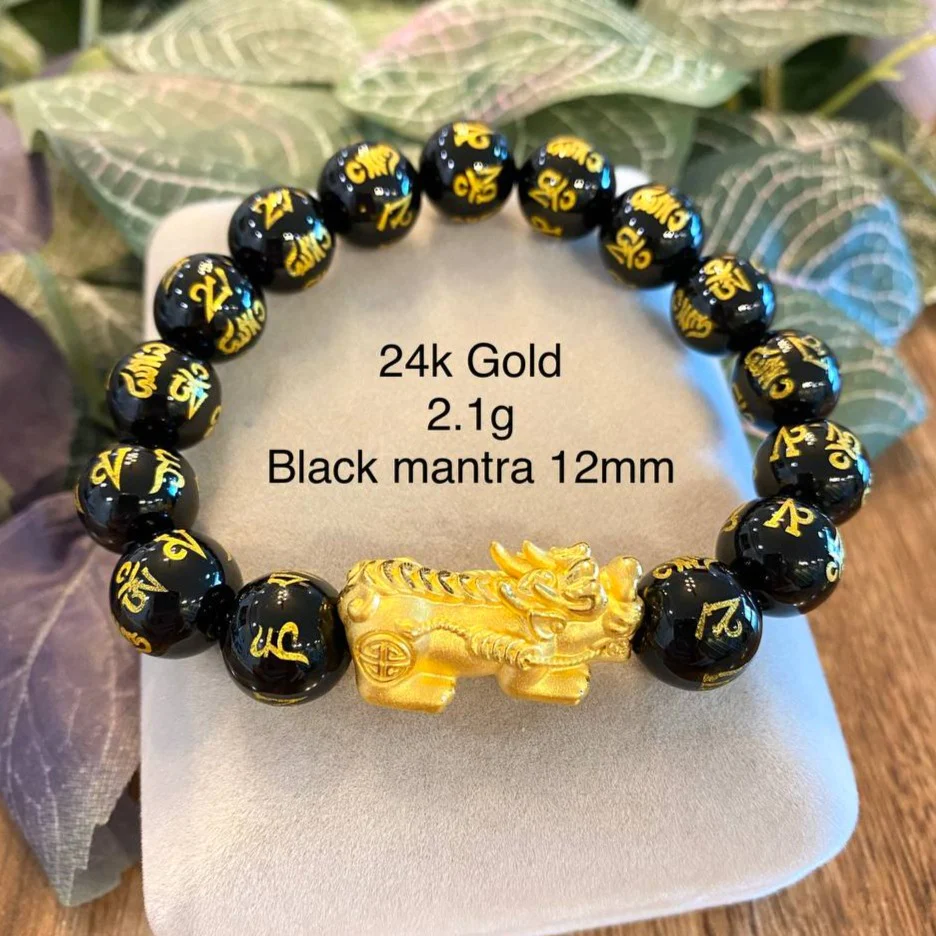
Stretch bracelets are a popular accessory, loved for their ease of wear and versatility in design. They are created by stringing beads onto an elastic cord, which can stretch to fit over the wearer’s hand. This simplicity in construction means anyone with basic crafting skills can make a personalized stretch bracelet. With a wide array of bead choices including glass, wood, plastic, or precious stones, each bracelet can be as unique as its creator’s imagination.
To start making a stretch bracelet, one needs only a few essential tools and supplies: elastic cord, beads of choice, scissors, and adhesive. The beauty of this craft lies in its minimalism; even the most novice crafters can achieve professional-looking results. Once the materials are gathered, the process involves threading the beads onto the elastic cord in any desired pattern, securing the ends with a strong knot, and adding a dab of glue for extra security.
It’s important to consider the size of the bracelet during creation. The elastic cord should be pre-stretched to prevent the bracelet from becoming too loose over time. Additionally, the knot quality directly affects the durability of the finished product. Therefore, attention to detail and proper finishing techniques will ensure that the bracelet not only looks good but also withstands regular wear.
Selecting Materials
Selecting the right materials is crucial for the durability and appearance of the stretch bracelets. The choice of beads and stretch cord impacts the final design and wearability.
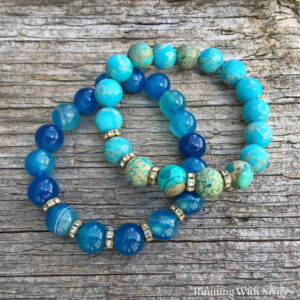
Choosing Beads
When choosing beads, consider the material, size, and hole diameter. Common bead materials include:
- Glass: Durable and available in various colors.
- Semi-precious stones: Offer natural patterns and textures.
- Wood: Lightweight and ideal for a natural look.
- Plastic: Cost-effective and come in numerous shapes.
Size matters: smaller beads (4mm–6mm) create a delicate bracelet, while larger beads (10mm and up) make a statement piece. Ensure the hole diameter fits the thickness of the stretch cord.
Picking Stretch Cord
The stretch cord should be:
- Durable: It needs to withstand regular use.
- Elastic: Good quality cord snaps back into shape after stretching.
Thickness is key. A 0.7mm to 1mm thick cord suits most beads and provides a blend of strength and flexibility. Clear stretch cord is versatile, but colored options can complement or contrast with your beads.
| Cord Thickness | Recommended Bead Hole Diameter | Typical Use |
|---|---|---|
| 0.5mm | 0.6mm – 1mm | Small, lightweight beads |
| 1mm | 1mm – 2mm | Large, heavy beads |
Tools and Workspace Preparation
Before creating stretch bracelets, one should assemble the proper tools and prepare the workspace to ensure efficiency and a smooth crafting process.
Gathering Necessary Tools
- Bead Stringing Wire: Preferably a stretchy cord, such as elastic.
- Scissors: For cutting the stringing material.
- Beads: Various sizes, colors, and materials based on design preferences.
- Ruler or Tape Measure: To measure the cord lengths and bracelet sizes.
- Jewelry Pliers (optional): To help with knotting and handling small beads.
Preparing the Workspace
Workspace Setup Steps:
- Select a clean, flat surface in a well-lit area.
- Cover the surface with a bead mat or cloth to prevent beads from rolling.
- Organize beads and tools within arm’s reach to streamline the bracelet-making process.
- Ensure the chair and table height are comfortable to avoid strain during crafting.
Assembling the Bracelet
Assembling a stretch bracelet involves precise measurement, threading of beads, and secure tying. Following these steps ensures a well-crafted final product.
Measuring and Cutting the Cord
One must first determine the desired length of the bracelet. The average bracelet size is about 7 inches. To allow for the knot and bead sizes, one should add an extra inch, totaling an 8-inch piece of stretch cord. One can use a ruler or measuring tape for accuracy. It is essential to cut the cord straight across to avoid fraying.
Threading Beads onto the Cord
To begin threading, one should pre-stretch the cord to prevent later overstretching, which can lead to breakage. After pre-stretching:
- Secure one end of the cord with a bead stopper or tape.
- Begin threading the beads onto the cord in the chosen pattern or design.
- Continue until the desired length is reached. Be sure to regularly check the fit around the wrist.
Securing the Bracelet
Once all beads are on the cord, it is time to tie a secure knot to finish the bracelet:
- Overlap the cord ends and tie a surgeon’s knot.
- Pull the knot tightly and apply a small drop of glue for extra security.
- Once the glue dries, trim any excess cord close to the knot.
- Hide the knot inside a bead if possible.
This secures the bracelet and ensures durability for frequent wear.
Finishing Touches
To ensure the longevity and aesthetic appeal of a stretch bracelet, applying precise finishing touches is crucial. These final steps help to secure the bracelet’s design and maintain its neat appearance.
Adding a Knot Cover
Once the bracelet’s beads are strung and the ends are securely knotted, a knot cover, also known as a clamshell bead tip or a bead cap, can be added for a professional look. One should:
- Place the knot into the clamshell bead tip.
- Close the two halves with pliers, encapsulating the knot.
Trimming Excess Cord
After securing the knot and covering it:
- Trim the excess stretch cord with sharp scissors, leaving about 1/4 inch beyond the knot to prevent fraying.
- Tuck the remaining bit of cord into the nearest bead if possible, to hide it from view.
Care and Maintenance
Proper care and maintenance ensure the longevity and beauty of stretch bracelets. This section covers important aspects to consider such as wearing instructions and tips for cleaning and storage.
Wearing Instructions
- Avoid Overstretching: Gently roll the bracelet over the hand without excessive pulling. Overstretching can lead to a loss of shape or breakage.
- Minimize Contact With Chemicals: Exposure to lotions, perfumes, and cleaning agents can deteriorate the elastic strand and affect the finish of the beads.
Cleaning and Storage
- Cleaning Process:
- Wipe gently with a soft, damp cloth.
- Avoid submerging in water.
- Let air dry completely before storing.
- Storage Solutions:
- Separate Compartments: Store bracelets in individual pouches or compartments to prevent tangling and scratching.
- Temperature Control: Keep in a cool, dry place away from direct sunlight and heat sources to prevent damage to the materials.

